Uploading your own world to the server
Uploading your own world to a Valheim server takes a few steps. Here is a simple guide to help you understand how to do it:
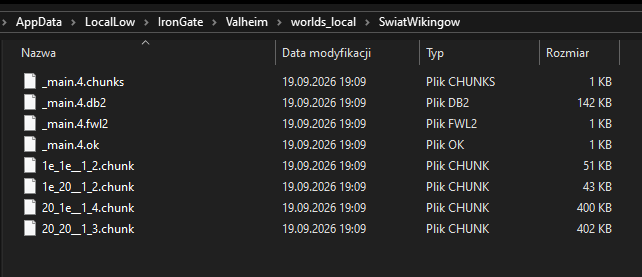
In the current version of Valheim a world is no longer saved as two files, .db and .fwl. Each world now has its own folder (named after the world) containing several files, e.g.:
SwiatWikingow
├── _main.4.chunks
├── _main.4.db2
├── _main.4.fwl2
├── _main.4.ok
├── 1e_1e__1_2.chunk
├── 20_20__1_3.chunk
└── ...
The number of .chunk files depends on how much of the world has been explored. Always upload the whole world folder to the server, not individual files.
Uploading a world step by step
Step 1: Download the world from the Steam Cloud to your computer.
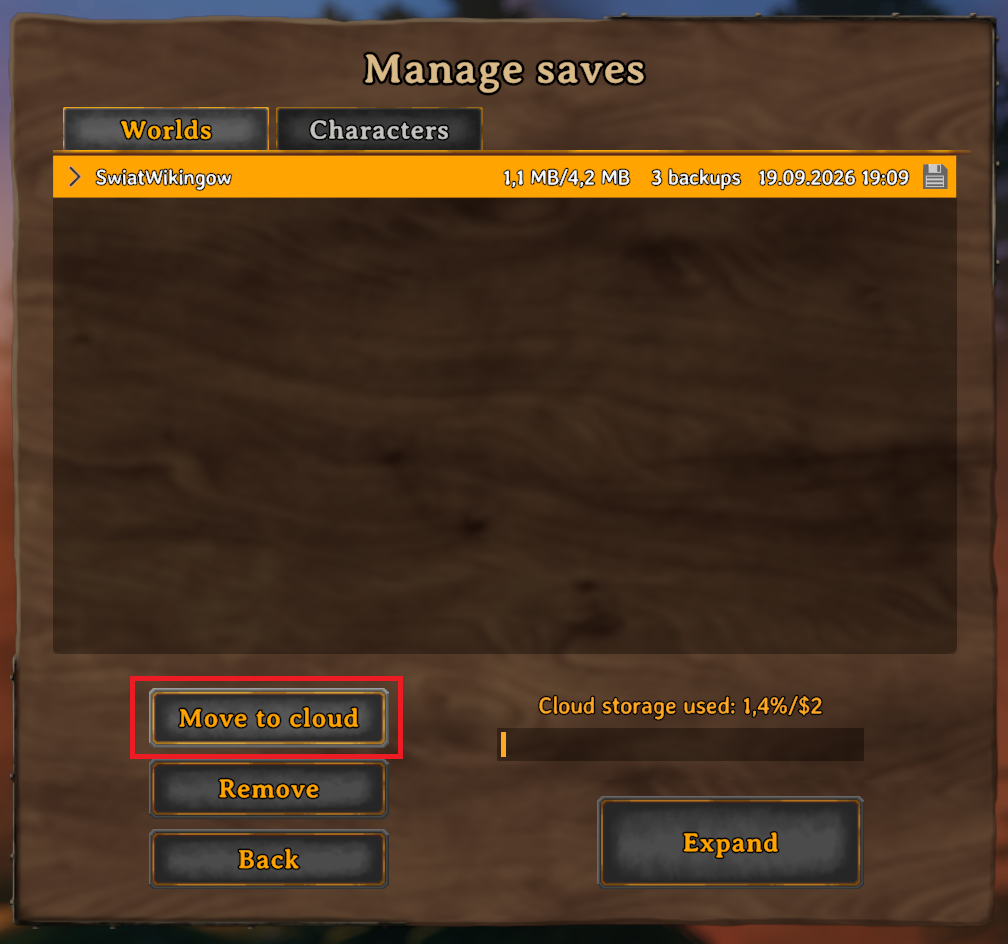
If your world is saved in the Steam Cloud, its files are not fully stored on your disk and cannot be copied correctly. First you need to move the world to local storage:
- Launch Valheim and go to the world selection screen.
- Click Manage saves.
- Select your world and press Move to local.
The game will then download all of the world's save files from the Steam Cloud to the local folder.
Step 2: Find your world's folder on your computer. Local worlds are located at:
C:\Users\YourUser\AppData\LocalLow\IronGate\Valheim\worlds_local
You can paste %userprofile%\AppData\LocalLow\IronGate\Valheim\worlds_local into the File Explorer address bar to go straight to this folder.
Inside you will find a folder named after your world, e.g. SwiatWikingow. This folder (with all of its contents) is what you upload to the server.
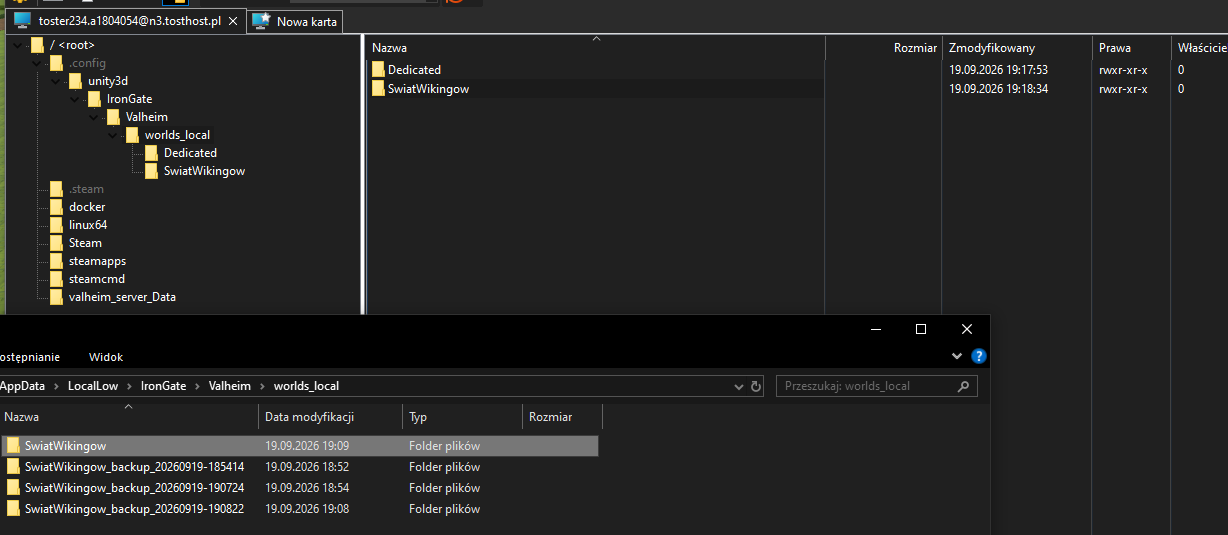
Step 3: Upload the whole world folder to your Valheim server. You can do this through the Files tab at https://panel.tosthost.pl, or using the WinSCP program https://docs.tosthost.pl/paneltosthost/sftp-winscp
Stop the server before uploading the world so it doesn't overwrite the uploaded files.
The world location on the server is
/.config/unity3d/IronGate/Valheim/worlds_local
This is where you need to upload the whole folder of your world. After uploading, the path to the files should look like this:
/.config/unity3d/IronGate/Valheim/worlds_local/SwiatWikingow/_main.4.db2
The easiest way is to drag the whole folder in WinSCP. If you use the Files tab in the panel, you can pack the world folder into a .zip archive, upload it to worlds_local and then extract it with the Unarchive option.
Step 4: Select the world to load in the server settings.
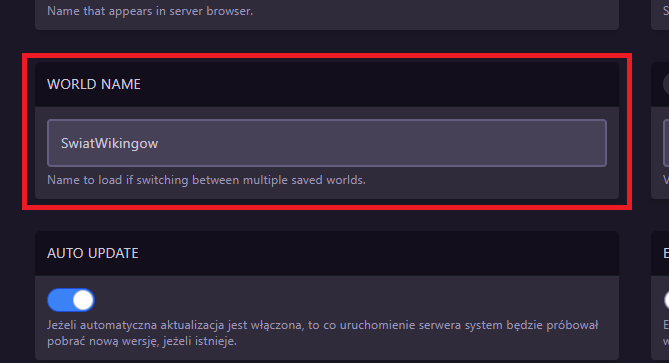
In the Startup tab, in the WORLD NAME option, enter the folder name of your world. If the folder is called e.g. SwiatWikingow, enter SwiatWikingow in this field. Mind the letter case – the name must be exactly the same as the folder name.
Remember! For the changes to take effect, restart the server.